 |  |  |
|---|---|---|
 |

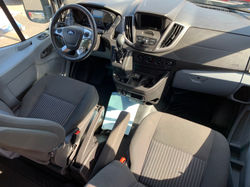
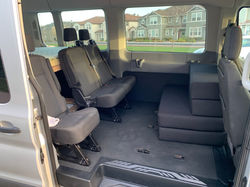
Step 1: Remove Seats
SARA contained a total of 15 seats.
In order to frame in our bed, we removed all but 7 of the seats.
Step 2: Buy Lumber
For the bed, we opted to use 2"x3" for the main framing members; 2"x4" for the vertical struts; and 2"x6" for the bottom mounting boards.

Step 3: Secure it
Seeing this is a minimalist conversion, we did not want to drill holes or alter the body of the van at all.
Therefore, we opted to use existing features of the vehicle (ie: seat attachment bars, and mounting brackets) to affix the bottom to. We used metal strapping, and u-bolts to capture those items.
Though they are not the prettiest, they are functional, and have held up very well so far.


Step 4: Frame it in
Keeping with the concept of not altering the interior of the van, all bed framing is free-standing and not in contact with the walls of the van.
We used a small piece of weather stripping at each wood connection point to ensure that there was no squeaking of the bed as we drove down bumpy roads (there hasn't been any to-date).
Step 5: Put the bedding on
For the bed, we used a 4" foam mattress, with a 1" "cool foam" topper. This has proven to be plenty of cushion for us.
The bed is a Full Bed.
https://www.amazon.com/dp/B073JVXB2H?ref=ppx_pop_mob_ap_share

Step 6: Install the 2nd bed
For our daughter's bed, we used a tri-fold foam mattress that also doubles as a love seat. For the frame, we built it out of PVC piping and a folding sheet of plywood. It breaks down quickly and is strong enough to support all of our weight.
https://www.amazon.com/dp/B077Q94FYK?ref=ppx_pop_mob_ap_share
 |  |  |
|---|---|---|
 |  |  |
Step 7: Under Bed Storage
We were able to store 7 days worth of equipment, food, and clothing under the bed as we set out on our road trip to the Grand Canyon.
 IMG_5498.jpeg |  IMG_5499.jpeg |  IMG_6326.jpeg |
|---|